If you’re craving a rich, creamy dessert but don’t want to turn on the oven, No-Bake Cherry Cheesecake is the perfect solution! This classic dessert combines a buttery graham cracker crust, a velvety smooth cheesecake filling, and a luscious cherry topping—all made with minimal effort.
Whether you’re preparing a quick treat for guests or satisfying a late-night dessert craving, this No-Bake Cherry Cheesecake is a guaranteed winner. Plus, since it’s a no-bake recipe, it’s ideal for hot summer days when you want something delicious without heating up the kitchen.
In this guide, we’ll walk you through everything you need to know to make the best No-Bake Cherry Cheesecake, from ingredient choices to storage tips. Get ready to impress your family and friends with this easy, irresistible dessert!
Table of Contents
Why You’ll Love This Recipe
Before we dive into the details, here’s why this No-Bake Cherry Cheesecake is a must-try:
Quick & Easy – No need to spend hours baking. Just mix, chill, and enjoy!
No Oven Required – Perfect for warm weather or when you don’t want to bake.
Rich & Creamy – A smooth, velvety filling with a delightful crunch from the crust.
Perfect for Any Occasion – Great for birthdays, holidays, or a simple family treat.
Make-Ahead Friendly – Prepare it in advance and let it set overnight for the best texture.
Why This Cheesecake is Perfect for Every Occasion
One of the best things about No-Bake Cherry Cheesecake is its versatility. Whether you’re making it for a family gathering, a special celebration, or just treating yourself, this cheesecake is always a great choice. Unlike traditional baked cheesecakes, which require precise baking times and cooling processes, this no-bake version eliminates the guesswork. There’s no need to worry about cracked tops or overbaking—just mix, chill, and enjoy! This recipe is also perfect for beginner bakers because it doesn’t require any advanced baking skills. Even if you’ve never made a cheesecake before, you can achieve a smooth, creamy, and delicious dessert with minimal effort.
Another great reason to love this No-Bake Cherry Cheesecake recipe is its make-ahead convenience. Since it requires a few hours to set in the refrigerator, you can prepare it the night before a big event, saving you time on the day of your gathering. This also makes it ideal for the holidays when you have a long list of dishes to prepare. Simply make your No-Bake Cherry Cheesecake in advance, and it will be ready to serve when you need it
Additionally, this no-bake cheesecake is incredibly customizable. If you love a twist on the classic, you can experiment with different crusts, toppings, and flavors to match your taste preferences. Whether you swap out the graham cracker crust for chocolate cookies, try a different fruit topping like blueberry or strawberry, or even add a drizzle of salted caramel or chocolate, this cheesecake can be tailored to fit any occasion. It’s the ultimate no-fuss, crowd-pleasing dessert that everyone will love!
Ingredients Needed

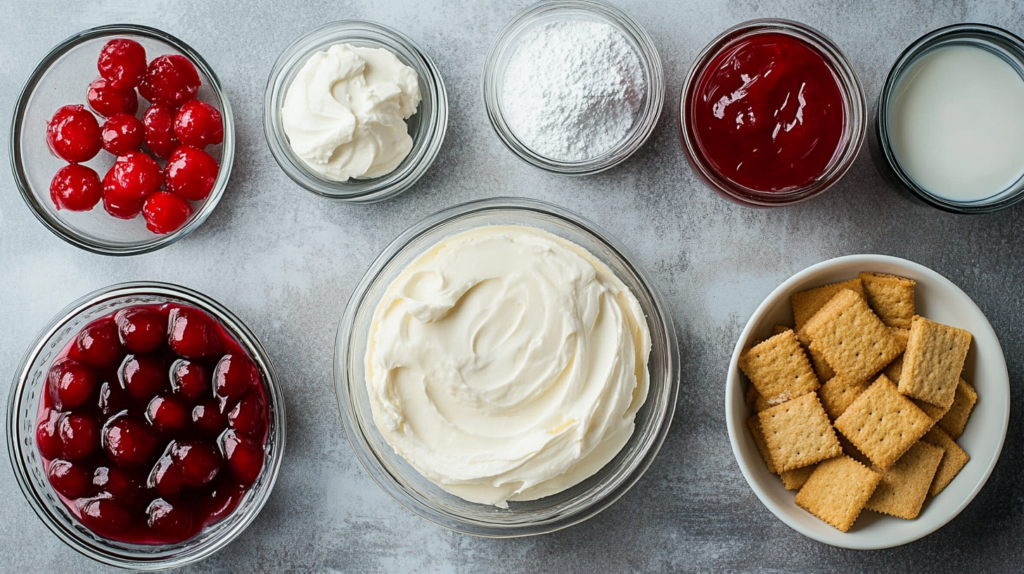
To make this no-bake cheesecake, you’ll need simple pantry-friendly ingredients.
For the Crust:
- Graham cracker crumbs (or crushed digestive biscuits)
- Melted butter
- Sugar
For the Cheesecake Filling:
- Cream cheese (softened)
- Powdered sugar
- Vanilla extract
- Heavy whipping cream (cold)
- Lemon juice (for a slight tangy flavor)
For the Cherry Topping:
- Cherry pie filling (or fresh cherries with sugar syrup)
Step-by-Step Instructions
Making this No-Bake Cherry Cheesecake is super easy! Just follow these simple steps:
Step 1: Prepare the Crust
- Crush the graham crackers – Use a food processor or place them in a sealed bag and crush them with a rolling pin until you get fine crumbs.
- Mix with melted butter and sugar – In a medium bowl, combine the crushed graham crackers, melted butter, and sugar. Stir until the mixture resembles wet sand.
- Press into the pan – Pour the mixture into a 9-inch springform pan or pie dish. Press it down evenly using the back of a spoon or a flat-bottomed glass.
- Chill the crust – Place the crust in the refrigerator for at least 15-20 minutes while you prepare the filling. This helps it set.
Step 2: Make the Cheesecake Filling
- Beat the cream cheese – In a large mixing bowl, use an electric mixer to beat the softened cream cheese until smooth and creamy.
- Add powdered sugar and vanilla – Mix in the powdered sugar and vanilla extract until well combined.
- Whip the heavy cream – In a separate bowl, whip the cold heavy cream until stiff peaks form. This helps give the cheesecake a light and fluffy texture.
- Fold everything together – Gently fold the whipped cream into the cream cheese mixture until fully combined. Be careful not to deflate the whipped cream.
Step 3: Assemble the Cheesecake
- Spread the filling over the crust – Pour the cheesecake filling onto the chilled crust, spreading it evenly with a spatula.
- Smooth the top – Use a spatula or the back of a spoon to make the top as even as possible.
- Chill to set – Cover the cheesecake with plastic wrap and refrigerate for at least 4-6 hours, or overnight for the best results.
Step 4: Add the Cherry Topping
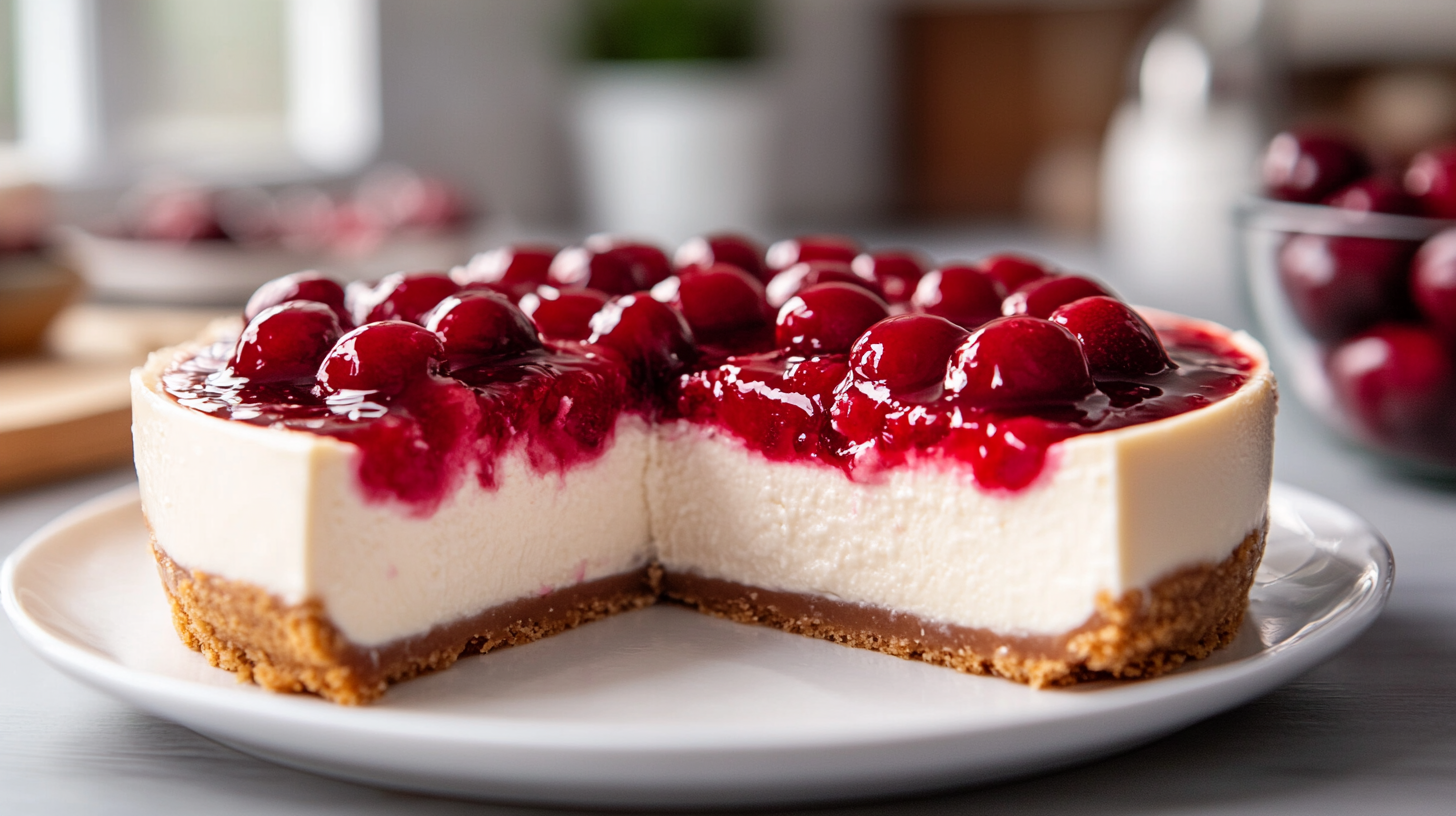
- Spoon the cherry pie filling – Once the cheesecake is fully set, evenly spread the cherry topping over the top.
- Smooth it out – Use a spoon to distribute the cherries and sauce evenly.
- Chill for another 30 minutes (optional) – This allows the topping to blend nicely with the cheesecake.
Tips for a Perfect No-Bake Cheesecake
Use cold heavy cream – This ensures it whips properly and gives the cheesecake structure.
Chill for at least 6 hours – The longer it chills, the firmer and creamier it will be.
Use full-fat cream cheese – Low-fat versions can make the filling too soft.
Don’t overmix – Overmixing can make the filling too runny and affect the texture.
Press the crust firmly – This prevents it from crumbling when slicing.
Use Cheesecake Cookies as a crunchy alternative to the graham cracker crust.
Variations of No-Bake Cherry Cheesecake
Want to put your own twist on this classic dessert? Here are some fun variations to try:
1. Mini No-Bake Cherry Cheesecakes
- Instead of a large cheesecake, divide the crust and filling into small muffin tins or ramekins.
- Use cupcake liners for easy removal.
- Perfect for portion control and serving at parties!
2. Chocolate Crust Version
- Replace graham crackers with chocolate cookies (like Oreos) for a rich, chocolatey twist.
- Crush the cookies and mix them with butter as you would with graham crackers.
- The chocolate flavor pairs beautifully with the cherry topping.
3. Vegan & Dairy-Free Option
- Use dairy-free cream cheese and coconut cream instead of regular cream cheese and heavy cream.
- Swap butter with melted coconut oil for the crust.
- Ensure the cherry topping is free from animal-based gelatin.
4. Extra Fruity Cheesecake
- Mix fresh strawberries, raspberries, or blueberries into the cheesecake filling.
- Swap the cherry topping with a mixed berry compote for a different flavor.
5. Lemon Cherry Cheesecake
- Add extra lemon juice and zest to the cheesecake filling for a tangy, refreshing taste.
- The citrus flavor balances beautifully with the sweet cherry topping.
Try also swapping the cherries for Strawberry Cheesecake Ice Cream flavors for a fruity twist.
Serving Suggestions
Take your No-Bake Cherry Cheesecake to the next level with these delicious serving ideas:
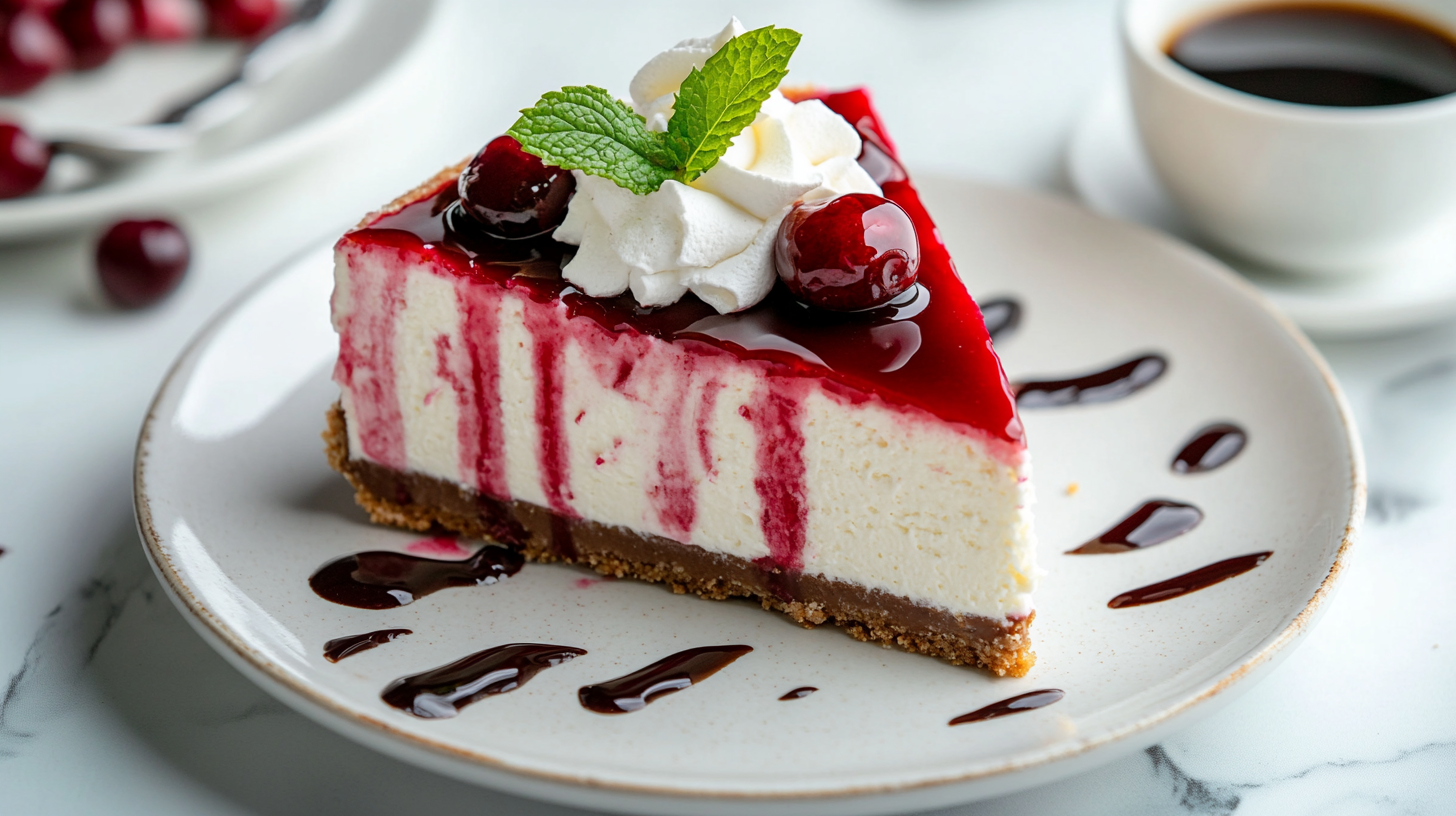
Whipped Cream – Pipe or dollop fresh whipped cream on top before serving.
Chocolate Drizzle – Drizzle melted chocolate or chocolate syrup over the cherry topping.
Toasted Coconut – Sprinkle lightly toasted coconut flakes for extra texture.
Fresh Mint Leaves – Add a touch of green for a restaurant-style presentation.
Best Drink Pairings – Serve with hot coffee, tea, or a glass of sweet wine.
Looking for a fusion dessert? Check out Churro Cheesecake for an exciting variation.
Storage and Shelf Life
How to Store in the Fridge
- Keep the cheesecake covered in the refrigerator to prevent it from drying out or absorbing odors.
- It stays fresh for up to 5 days when properly stored.
Freezing Tips
- For long-term storage, freeze the cheesecake without the cherry topping for best results.
- Wrap it tightly in plastic wrap and place it in an airtight container.
- It can be frozen for up to 2 months.
- To serve, thaw it overnight in the fridge and add the cherry topping before serving.
Common Mistakes to Avoid
Not Chilling Long Enough – If the cheesecake is too soft, it may not have set properly. Refrigerate for at least 6 hours or overnight.
Using Warm Ingredients – Always use cold heavy cream to whip properly and softened cream cheese to prevent lumps.
Overmixing the Filling – This can lead to a runny texture. Mix just until everything is combined.
Crust Falling Apart – Be sure to press the crust firmly into the pan and chill before adding the filling.
Frequently Asked Questions
Why is my cheesecake not firm?
It may need more chilling time or the cream cheese and whipped cream weren’t mixed properly.
Can I use fresh cherries instead of canned?
Yes! Just cook fresh cherries with sugar and a little cornstarch until they form a thick sauce.
How long does it take to set?
At least 4-6 hours, but overnight is best for a firm texture.
Can I use a different fruit topping?
Absolutely! Try blueberry, strawberry, or raspberry pie filling for a fun twist.
Can I make this in advance?
Yes! You can prepare it up to 2 days in advance and keep it in the fridge until serving.
How to Make Simple Cheesecake No-Bake?
Making a simple no-bake cheesecake is easy and requires minimal ingredients. Start by preparing a crust using crushed graham crackers mixed with melted butter and pressing it into a pan. For the filling, beat softened cream cheese, powdered sugar, and vanilla extract until smooth. In a separate bowl, whip heavy cream until stiff peaks form, then gently fold it into the cream cheese mixture. Spread the filling over the crust and refrigerate for at least 4-6 hours to set. Once firm, top with your favorite fruit or sauce, and enjoy!
Is It Better to Bake or Not Bake a Cheesecake?
Both baked and no-bake cheesecakes have their own advantages, depending on your preference. Baked cheesecakes (like New York-style) have a dense, rich, and velvety texture due to the eggs in the batter. They require precise baking and cooling to prevent cracks. On the other hand, no-bake cheesecakes are lighter, creamier, and easier to make since they don’t require an oven. If you want a quick, foolproof dessert, a no-bake cheesecake is the better option. However, if you prefer a traditional, firmer texture, go for a baked cheesecake.
What Are the Three Ingredients in No-Bake Cheesecake?
A basic no-bake cheesecake can be made with just three key ingredients:
Cream Cheese – Provides the creamy, tangy base.
Sweetened Condensed Milk or Sugar – Adds sweetness and enhances texture.
Whipped Cream or Heavy Cream – Gives the cheesecake a light and fluffy consistency.
For added flavor, most recipes also include vanilla extract and lemon juice.
What Are the Ingredients for Cherry Cheesecake?
To make a No-Bake Cherry Cheesecake, you’ll need:
For the crust: Graham crackers, melted butter, and sugar.
For the filling: Cream cheese, powdered sugar, vanilla extract, heavy cream, and lemon juice.
For the topping: Cherry pie filling or fresh cherries cooked with sugar and cornstarch.
This combination creates a perfectly creamy, sweet, and slightly tangy cheesecake with a delicious cherry topping.
Conclusion
This No-Bake Cherry Cheesecake is a simple yet elegant dessert that’s perfect for any occasion. With its buttery graham cracker crust, creamy cheesecake filling, and sweet cherry topping, it’s a guaranteed crowd-pleaser. Plus, with so many variations and storage options, you can easily make it ahead and customize it to your taste!
Give this recipe a try and impress your family and friends with this easy, no-bake treat. Happy baking!

No-Bake Cherry Cheesecake – Easy & Creamy Recipe
Ingredients
For the Crust:
- 1 ½ cups graham cracker crumbs
- ⅓ cup melted butter
- 2 tablespoons sugar
For the Cheesecake Filling:
- 16 oz cream cheese softened
- 1 cup powdered sugar
- 1 teaspoon vanilla extract
- 1 cup heavy whipping cream cold
- 1 tablespoon lemon juice
For the Cherry Topping:
- 1 can 21 oz cherry pie filling
Instructions
- Prepare the Crust:In a medium bowl, combine graham cracker crumbs, melted butter, and sugar. Mix until the texture resembles wet sand. Press the mixture firmly into the bottom of a 9-inch springform pan to form an even layer. Refrigerate for at least 15 minutes to set.
- Make the Cheesecake Filling:In a large mixing bowl, beat the softened cream cheese until smooth and creamy. Add powdered sugar and vanilla extract, and mix until well combined. In a separate bowl, whip the cold heavy whipping cream until stiff peaks form. Gently fold the whipped cream into the cream cheese mixture until fully incorporated.
- Assemble the Cheesecake:Pour the cheesecake filling over the chilled crust, spreading it evenly with a spatula. Smooth the top to create an even surface. Cover and refrigerate for at least 4 hours, or until firm.
- Add the Cherry Topping:Once the cheesecake has set, spread the cherry pie filling evenly over the top. Refrigerate for an additional 30 minutes before serving to allow the flavors to meld.
Notes
- Chilling Time: Ensure the cheesecake chills for the recommended time to achieve the best texture and firmness.
- Ingredient Temperature: Using cold heavy cream helps in achieving the desired whipped consistency.
- Serving Tip: For clean slices, dip your knife in warm water and wipe it dry before cutting each piece.

